Quick Links
Windows Installer
SmartPLS v4.1.2.1 (Windows ZIP)
macOS Installer
Step 1 Windows installation
-
Get the installer
Download the Windows ZIP above and select Extract All. Before opening the extracted
.exe, right click it and open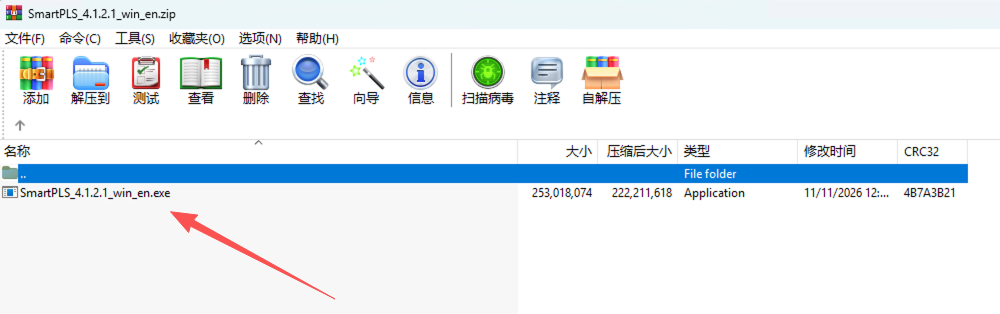
Windows 1: Find the installer inside the verified ZIP package. -
Enter a sales code only if prompted
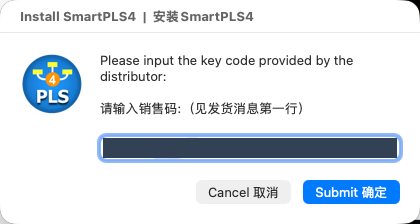
If your verified distributor installer displays Please input the key code provided by the distributor, enter the sales code from your order delivery message and click OK / 确定. If this dialog does not appear, continue to the Setup Wizard.
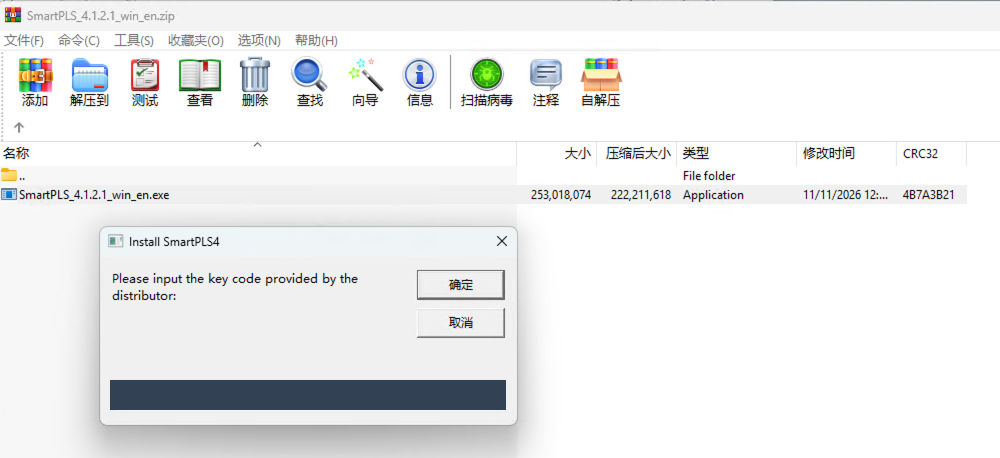
Windows 2: This is the distributor prompt, not the SmartPLS license screen. -
Start the Setup Wizard
At the welcome screen, click Next.
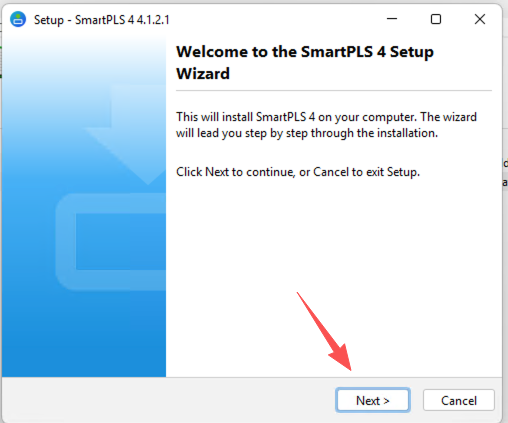
Windows 3: Click Next. -
Choose the installation folder
Keep the default location unless you have a reason to change it, then click Next. If the wizard displays an Install button, click it to begin.
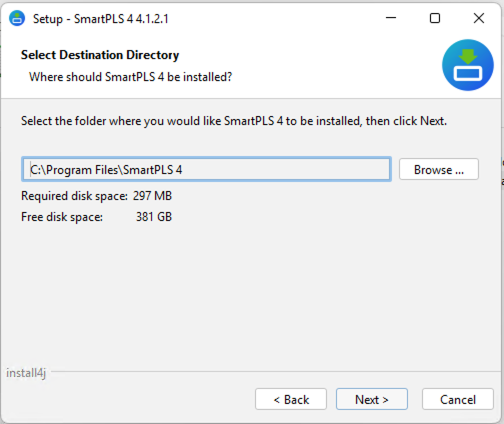
Windows 4: Select the destination directory. -
Wait for file extraction
Let the progress bar finish.
ASSEMBLY_EXCEPTIONunder Extracting files is a filename in this screenshot, not an error message by itself.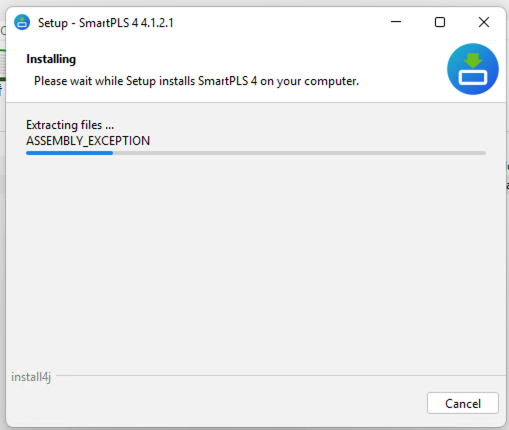
Windows 5: Leave the installer open until it finishes. -
Finish and launch SmartPLS
Keep Run SmartPLS 4 selected and click Finish. Create a desktop icon is optional.
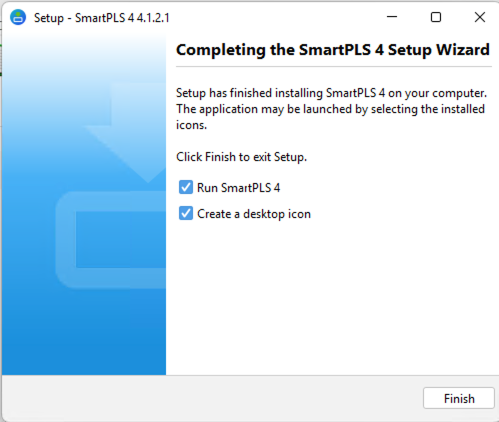
Windows 6: Click Finish to close the installer. -
Confirm the license and set up a workspace
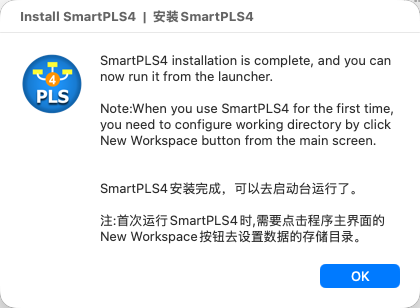
Dismiss the installation confirmation with OK if shown. For a Professional license, look for the Professional license message in SmartPLS. If it is not active yet, follow the activation steps. Click New Workspace to choose a folder for your projects.
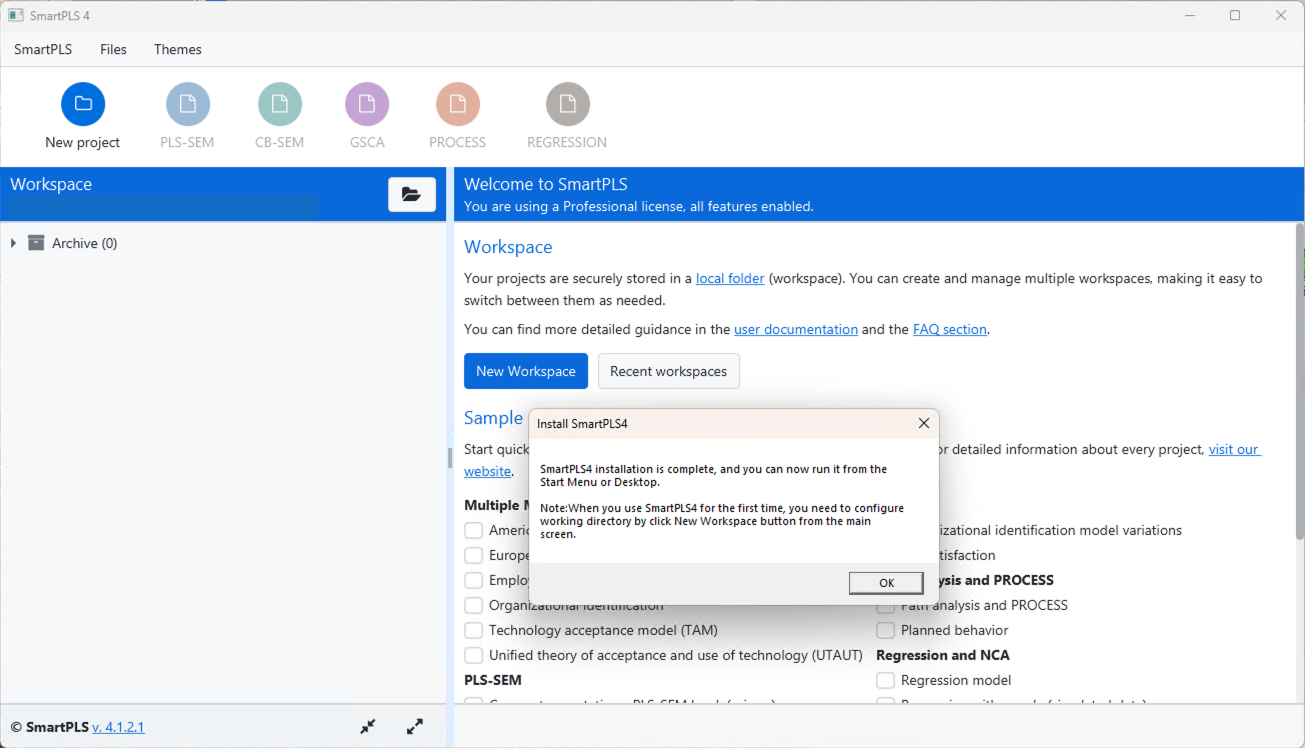
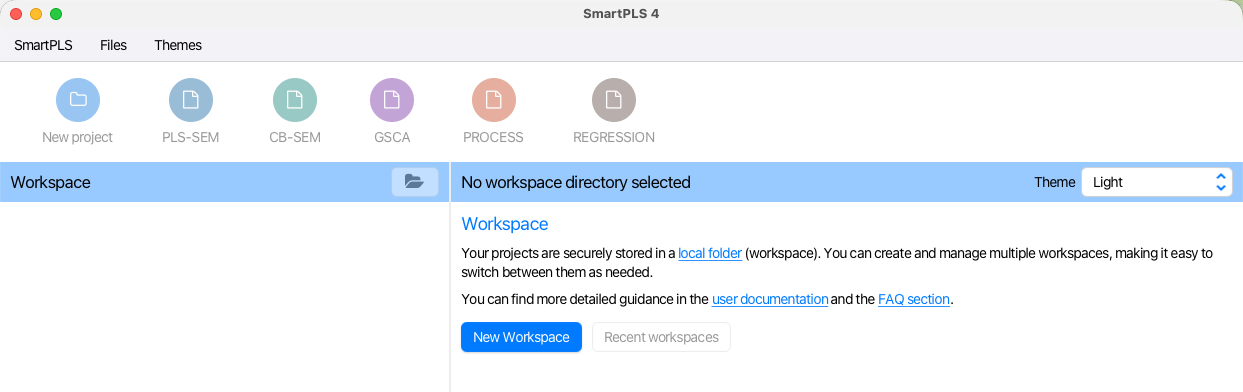
Windows 7: The Professional license message and New Workspace appear in the main window.
Step 2 macOS installation from Terminal
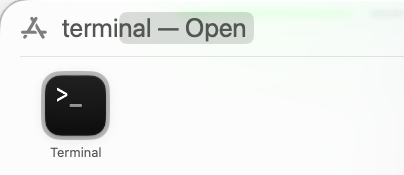
Open Apple menu › About This Mac. If it shows Chip: Apple M…, choose M Chip below. If it shows Processor: Intel…, choose Intel. Open Terminal from Spotlight, paste only the command for your Mac, and press Return.
Each command downloads the matching SmartPLS disk image over HTTPS, checks the image integrity, and opens it only if both steps succeed.
Apple Silicon (M Chip)
curl smartpls.app | bashIntel Mac
curl smartpls.app/intel | bashv4.1.1.8
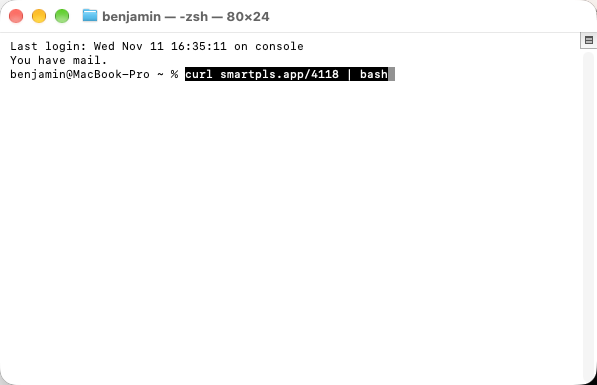
curl smartpls.app/4118 | bashInstall and activate
Open the terminal and enter the corresponding command.